
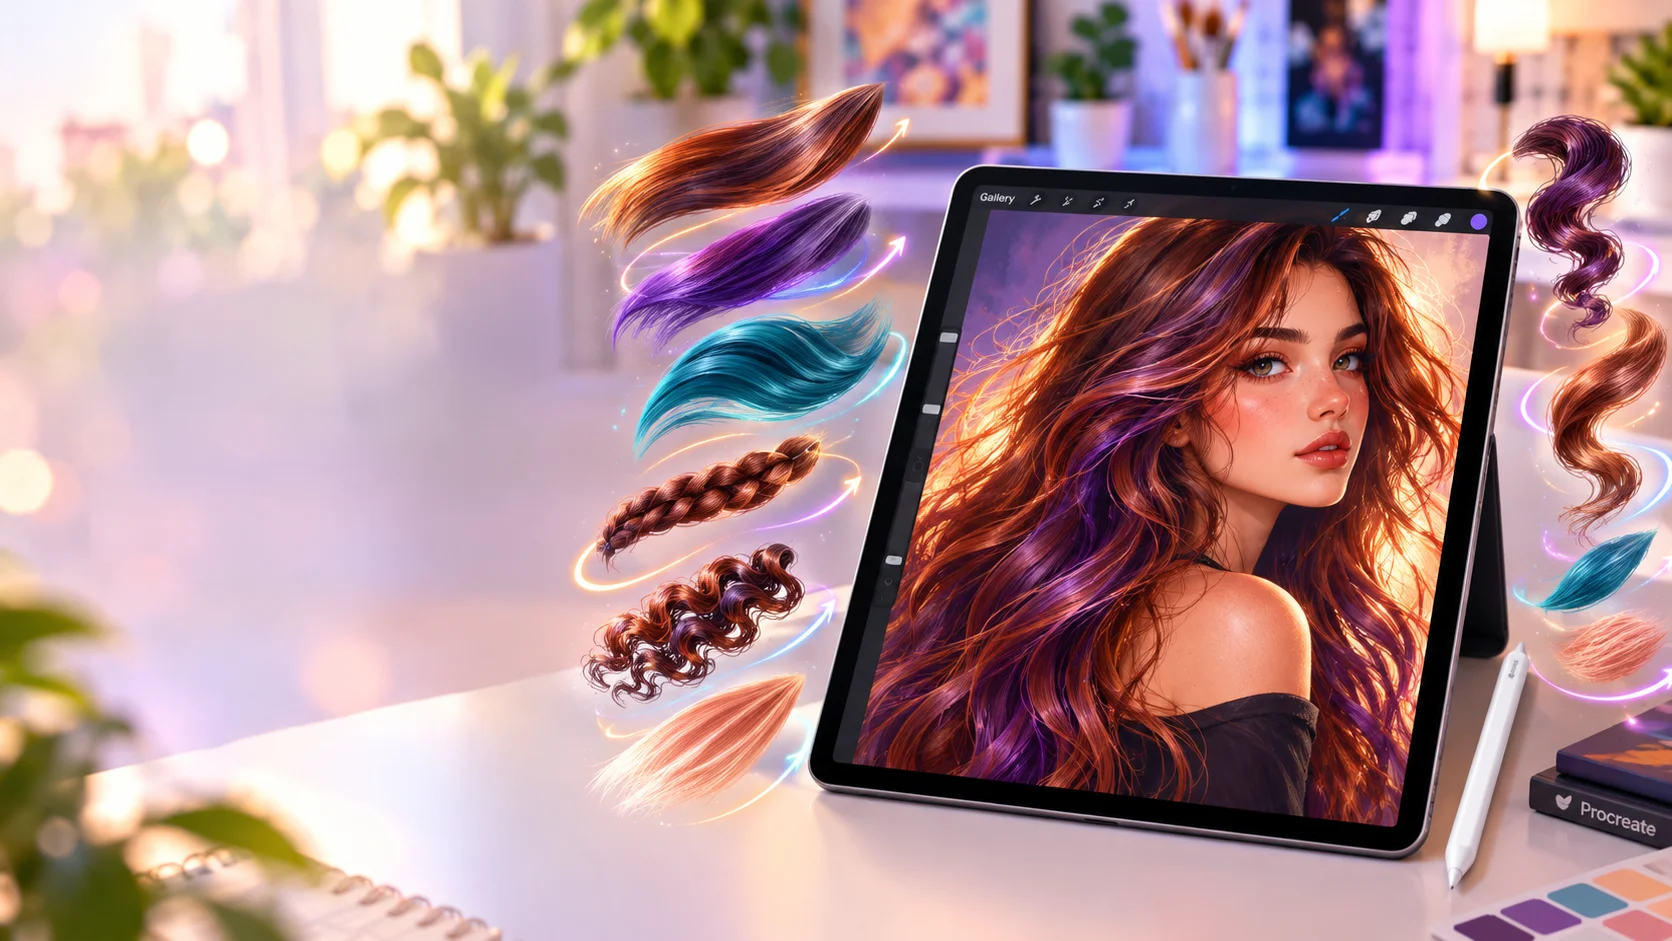
You’ve nailed the face. The eyes finally look alive, and the expression says exactly what you wanted. Then you reach the hair.
An hour later you’re still painting single strands, your wrist aches, and the result looks more like a helmet than a head of hair. Almost every digital artist has been there. Hair is where a portrait or character either comes alive or falls flat, and it’s often where creative confidence takes a hit.
The right tools change that. With the right free hair brushes for Procreate, you can lay down a flowing lock in one swipe, add glossy highlights in seconds, and save your energy for the part you love: making art.
In this guide you’ll find 25 free hair brushes artists reach for, drawn from five free packs. You’ll also learn which iPad to use, how to install brushes, and how to paint hair step by step.
Why Hair Is So Hard in Digital Painting
Hair trips up beginners and experienced illustrators alike, for three reasons:
- Too many details. Painting every strand is slow, and the result often looks stiff.
- Flat color. Without volume, shine, and shadow, hair looks like a solid shape.
- Messy edges. The hairline and the outer silhouette are where realism is won or lost.
Good brushes solve all three. They let you paint hair as flowing masses first, then details, which is how traditional painters approach it too.
What Makes a Great Hair Brush in Procreate?
Before you download anything, it helps to know what to look for.
Stroke taper and pressure sensitivity
A good hair brush starts thin, thickens in the middle, and tapers at the tip, the way a real lock of hair does. With an Apple Pencil, light pressure gives you fine strands and firmer pressure gives you bold, confident ones.
Texture and grain
Soft, wispy textures suit flyaways and hairlines. Bolder, denser textures suit the main body of the hair.
Stamps, multi-strand and outline brushes
Some brushes draw several strands at once, and others draw an outline and a fill together. These are huge time-savers for stylized and anime-style hair.
What iPad Is Best for Procreate?
If you’re still deciding on hardware, here’s a simple way to think about it. Procreate runs on iPad, and the best iPad for you depends on how big and complex your paintings are.
| iPad type | Best for | Things to know |
|---|---|---|
| Standard iPad | Beginners and hobbyists on a budget | Handles most sketching, lineart, and hair painting well |
| iPad Air | A balance of power and price | Comfortable for detailed portraits and character work |
| iPad Pro | Professionals, large canvases, many layers | More layers at higher resolutions, ideal for complex digital painting |
| iPad mini | Portable sketching | Small screen, but great for travel and quick studies |
Two things matter more than the model name:
- Apple Pencil support. Hair brushes rely on pressure and tilt, so check which Apple Pencil your iPad supports.
- Canvas size and layers. Procreate limits how many layers you get based on canvas size and your device’s memory. Hair painting is layer-heavy, so this matters.
Always confirm current compatibility on Procreate’s official website before buying.
How to Install Free Procreate Brushes
Installing brushes takes less than a minute:
- Download the brush file (usually
.brushsetor.brush) from the link. - Open it from the Files app or your browser’s downloads.
- Tap the file and Procreate will import it automatically.
- Open your Brush Library. New sets appear at the top of the list.
- Test the brushes on a blank canvas before using them in your project.
Pro tip: create your own set called “My Hair Brushes” and drag your favorites into it, so everything is in one place.
Free Hair Brushes for Procreate: Quick Comparison
| Pack | Brushes | Best for | Style | Extras |
|---|---|---|---|---|
| DI Brushes: Free 20 Outline Hair | 20 | Anime, manga, braids, highlights | Stylized | PDF guide, stamps |
| DI Brushes: Free Hair Brushes | 10 | General hair painting | Mixed | Larger version available |
| Jarticul: 10 Free Brushes | 10 | Realistic hair edges, brows, skin | Realistic | Skin and face textures |
| FreeProcreateBrushes.org Hair Set | Set | Realistic and stylized hair, flyaways | Mixed | Free download |
| Curly Hair Set (Behance) | Set | Curly and textured hair | Stylized and realistic | Free download |
Which should you download first? Beginners who want fast results should start with the DI outline set. Portrait painters should start with Jarticul’s pack and the FreeProcreateBrushes.org set.
Step-by-Step Procreate Hair Tutorials
Tutorial 1: Paint Flowing Straight Hair in 5 Steps
- Block in the shape. Use a large, soft brush to paint the overall silhouette and direction of flow.
- Add shadows. Paint a darker tone where the hair falls behind or under other sections.
- Build mid-tones. Add strands along the flow, following the direction of the hair.
- Add highlights. Use a highlight brush on a new layer at the top curves.
- Finish with flyaways. Add a few loose strands with a fine brush. Less is more.
Tutorial 2: Anime Hair with Outline Brushes
- Choose a double color outline brush and set your line and fill colors.
- Sweep once per hair clump, following the direction of growth.
- Add a second layer with a darker version for shadows.
- Drop in highlight stamps and erase parts of them so they blend.
Tutorial 3: Braids and Pigtails in Minutes
- Sketch the path of the braid on a new layer.
- Apply the braid brush along the path.
- Add the dark version underneath for depth.
- Finish with a few highlights and a fine strand or two escaping the braid.
Tutorial 4: Realistic Portrait Hair with Flyaways
- Paint the hair mass with a soft, broad brush, keeping the edges loose.
- Refine the hairline with a fine strand brush, letting it fade into the skin.
- Add lighter strands on top for shine.
- Place a few flyaways around the edges. Keep them thin, uneven, and few.
Art Tips for Better Hair with Any Brush
Use layers like a pro
Keep base color, shadows, highlights, and flyaways on separate layers. Use Alpha Lock and Clipping Masks so you can adjust colors without repainting.
Choose better hair colors
Avoid pure black for dark hair. Use deep browns, blues, or purples with lighter tones for highlights. Add small hue shifts for a more painterly result.
Customize brushes in Brush Studio
Every downloaded brush can be tweaked. Adjust size, taper, and pressure response until it fits your hand.
Common mistakes to avoid
- Too many highlights. They stop reading as shine.
- Ignoring flow direction. Hair follows the shape of the head and the pull of gravity.
- Painting every strand. Suggest, don’t spell out.
Free vs. Paid Hair Brush Packs: When to Upgrade
Free packs are a fantastic way to test what suits your style. Several creators also offer larger paid versions, such as DI Brushes’ 100+ brush outline set. If you find yourself constantly wishing for more variety, an upgrade may make sense.
Always check each creator’s license terms, especially if you plan to use brushes in commercial work. Free doesn’t always mean free for every use.
Conclusion: Pick One Pack and Paint Hair Today
Hair doesn’t have to be the part of your painting you dread. With a few good free brushes, it can become the part you enjoy most.
You don’t need to download all 25 brushes today. Pick one pack that matches your style, install it, and set a 15-minute timer to paint a simple hair study. Try one tutorial from this guide, then compare your result to your last piece of digital painting. You’ll probably be surprised by the difference.
Ready to start? Download your favorite pack from the list above, and explore more at FreeProcreateBrushes.org, including the 9 Basic Brushes and Procreate Oil Pastel Brushes. Share what you create, because the art community grows when artists show their work.
FAQ
What are the best free hair brushes for Procreate?
It depends on your style. For anime and stylized hair, the DI Brushes outline set is a great start. For realistic portraits, try the Jarticul pack and the FreeProcreateBrushes.org hair set. All the free hair brushes for Procreate in this guide can be downloaded at no cost.
What’s the best iPad you can recommend where I can use Procreate?
For most artists, an iPad Air offers the best balance of power and price. A standard iPad is enough for beginners, and an iPad Pro is worth it if you paint large canvases with many layers. Whichever you choose, make sure it supports an Apple Pencil, and check Procreate’s official compatibility page first.
How do I install free hair brushes in Procreate?
Download the .brushset or .brush file, open it from Files, and tap it. Procreate imports it automatically, and it appears in your Brush Library.
Can I use free Procreate brushes for commercial work?
It depends on the creator. Always read the license on each download page before using brushes in client or commercial projects.
Do I need an Apple Pencil to use hair brushes?
You can use a finger, but an Apple Pencil gives you pressure and tilt control, which is what makes hair strands look natural.
How do I make hair look realistic in Procreate?
Paint hair in masses first, then details. Use layers for shadows and highlights, follow the direction of growth, and add only a few flyaways.
Can I customize the brushes I download?
Yes. Open Brush Studio by tapping a brush, then adjust size, taper, and pressure until it suits your style.