Introduction
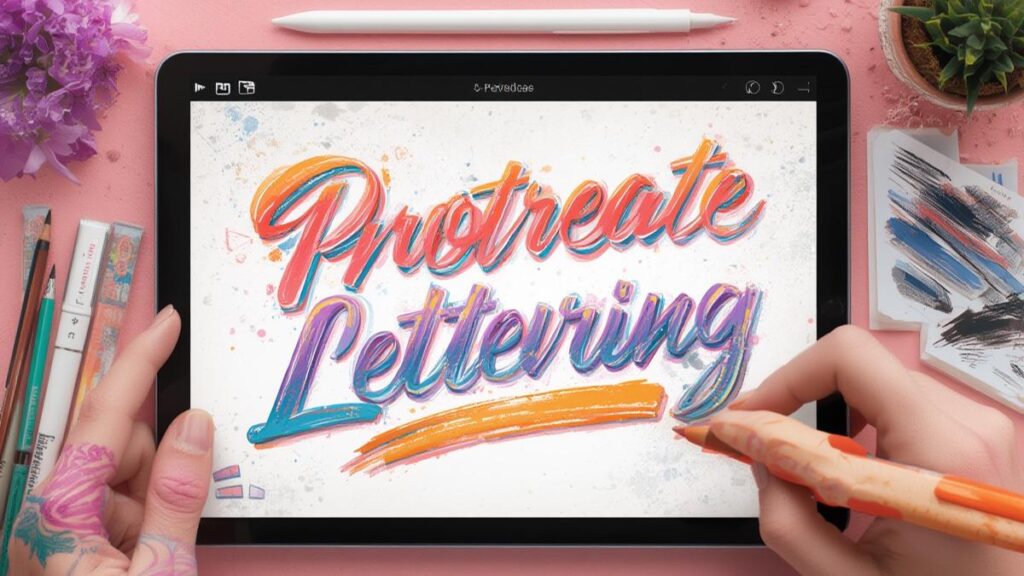
Digital art has evolved tremendously with the introduction of powerful applications like Procreate on the iPad. One of the most exciting aspects of Procreate is the ability to customize your artwork with different brush styles. For those interested in adding beautiful text elements to their digital creations, procreate lettering brushes offer incredible versatility, while procreate calligraphy brushes provide that elegant flowing style that many artists desire. Whether you’re a professional illustrator or just starting your iPad drawing journey, understanding how to effectively use and manage Procreate brushes can significantly enhance your digital illustration capabilities and creative workflow.
Step-by-Step Instructions
1. Importing Custom Brushes
First, you’ll need to know how to add new brushes to your Procreate collection:
1. Find and download brush sets from trusted sources
2. Open the file (usually .brushset format) with Procreate
3. The app will automatically import the brushes
4. Your new procreate lettering brushes or procreate calligraphy brushes will appear in a new brush set
2. Organizing Your Brush Library
To keep your growing brush collection manageable:
1. Open the Brushes panel by tapping the brush icon
2. Press “+” to create a new set
3. Drag and drop brushes between sets
4. Rename sets by tapping on the set name
5. Delete unwanted brushes by swiping left on them
3. Adjusting Brush Settings
Customize your brushes to get the perfect effect:
1. Select a brush and tap on it again to open settings
2. Adjust the size slider for thickness
3. Modify the opacity for transparency
4. Experiment with the streamline setting for smoother lines
5. Save your adjustments by tapping “Done”
4. Creating Your Own Brushes
Take your Procreate experience to the next level by creating custom brushes:
1. Select an existing brush as your starting point
2. Tap the brush name to open settings
3. Tap “Duplicate” to create a copy
4. Adjust the Shape, Grain, and Dynamics
5. Use the Stroke Path to define how the brush behaves
6. Name your custom brush and save
Tips
Brush Pressure Sensitivity
The Apple Pencil’s pressure sensitivity is one of its greatest features when working with Procreate brushes. Apply varying pressure to create dynamic line weights, especially valuable when using textured brushes for illustrations.
Layer Management for Brush Work
For complex illustrations:
– Use separate layers for different brush types
– Create a dedicated layer for text elements
– Use clipping masks with brush work for non-destructive editing
– Group related brush layers together
Color Dynamics
Enhance your brush work with these color techniques:
– Use the Color Dynamics panel to add variation to your brush strokes
– Create custom color palettes for consistent branding
– Try the ColorDrop feature to fill areas with texture
– Experiment with blending modes for unique effects
Performance Optimization
Keep your Procreate workflow smooth:
– Limit the number of active layers when using complex brushes
– Close unused brush panels to save memory
– Consider lowering the resolution for sketching stages
– Merge completed layers to improve performance
Alternative Methods
Using the QuickShape Tool with Brushes
For precise shapes with brush textures:
1. Select your desired brush
2. Draw a shape but hold your pencil down at the end
3. Procreate will transform your rough shape into a perfect form
4. Adjust as needed before lifting your pencil
Brush Stamping Technique
Rather than drawing continuous lines:
1. Choose a textured brush
2. Tap rather than drag on the canvas
3. Vary the pressure for different sizes
4. Create patterns and textures by stamping strategically
Masking with Brushes
For advanced texture control:
1. Create a new layer above your artwork
2. Fill it with black
3. Set the layer as a mask
4. Use white brushes to reveal the artwork below
5. Gray brushes will create partial transparency
Alpha Lock for Contained Brush Work
To apply brushes only within an existing shape:
1. Create your base shape on a layer
2. Swipe right with two fingers on the layer thumbnail
3. Apply brushes that will only affect the existing content
4. This is perfect for adding texture to specific elements
Conclusion
Mastering Procreate brushes opens up endless possibilities for digital artists on the iPad. The intuitive interface makes it easy to experiment with procreate lettering brushes for beautiful text elements and procreate calligraphy brushes for elegant flowing lines. The real magic happens when you begin customizing these tools to suit your personal style and project needs. Whether you’re creating professional illustrations, designing logos, or simply exploring digital art as a hobby, investing time in understanding the brush system will dramatically improve your results. Remember that regular practice with these tools is key to developing your skills and finding your unique artistic voice in the digital medium.