
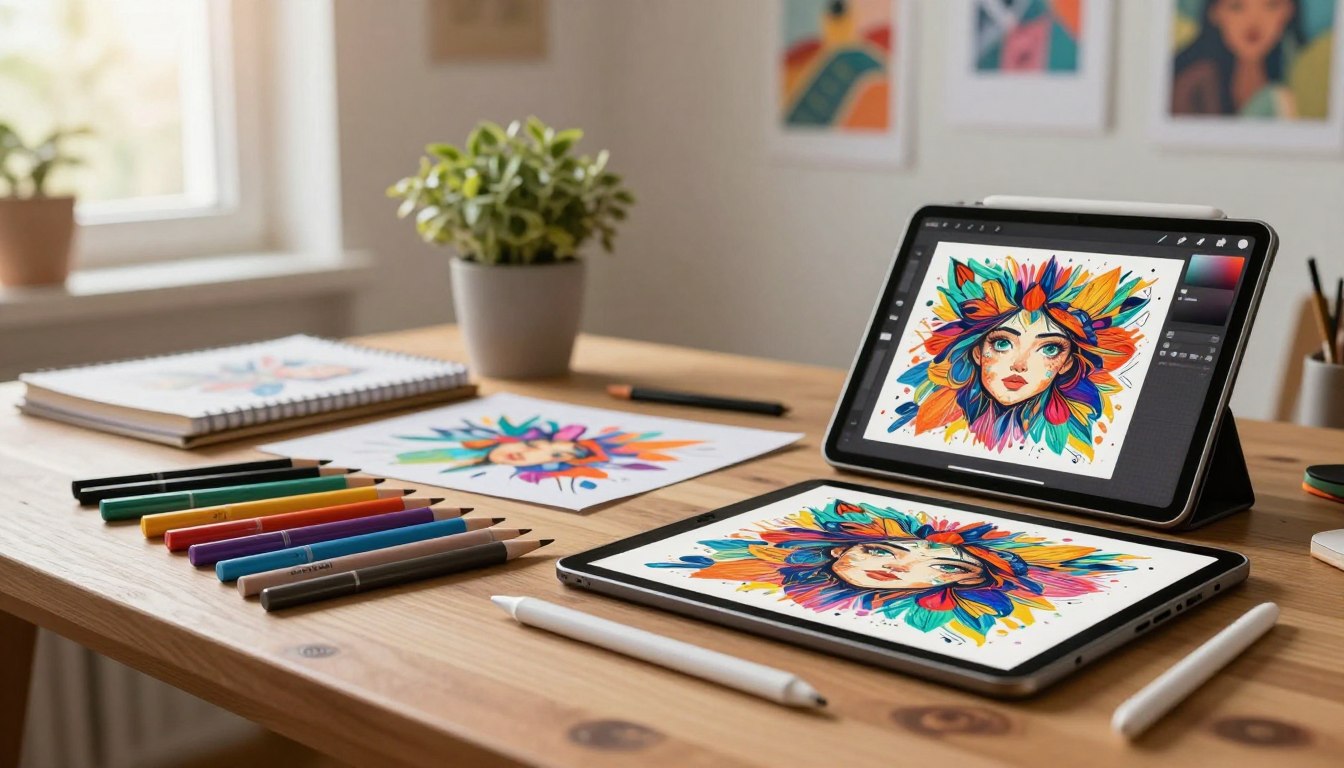
Finding the right free Procreate brushes can completely change the way you create digital art. A good brush can make sketching feel more natural, add realistic texture to a painting, produce cleaner line art, or help you create effects that would otherwise take much longer to draw by hand.
Procreate already includes an impressive collection of brushes, but one of the biggest advantages of the app is its flexibility. Artists can import additional brushes, organize them into custom sets, modify their behavior, and build a personal brush library that matches their style.
Whether you enjoy digital painting, illustration, lettering, character design, landscapes, comics, or simple sketching, free brushes are an excellent way to experiment without spending money on every new tool you want to try.
In this guide, we’ll explore the different types of free Procreate brushes, how to choose the right ones, how to install them, and how to get better results from your brush collection.
What Are Free Procreate Brushes?
Procreate brushes are digital tools that determine how your Apple Pencil or finger creates marks on the canvas. Instead of having only one standard digital pen, Procreate lets artists work with brushes that imitate pencils, ink, paint, charcoal, watercolor, texture, and many other traditional or experimental media.
Free Procreate brushes are simply brushes or brush sets that creators make available without requiring a purchase.
A brush isn’t limited to changing the appearance of a line. Different settings can influence the brush’s shape, grain, opacity, taper, pressure response, spacing, and overall behavior.
This flexibility is one reason artists often build large personal brush libraries.
The official Procreate Brush Library also includes brushes organized around different creative workflows. Depending on what you’re creating, you may want to combine built-in tools with downloaded brushes rather than replacing your existing library entirely.
Why Use Free Procreate Brushes?
One of the best reasons to download free brushes is experimentation.
If you’re still developing your digital art style, you may not know whether you prefer smooth painting brushes, heavily textured tools, crisp inking pens, or traditional-looking pencils. Testing different brushes allows you to discover what feels natural without buying several premium packs.
Brushes can also make repetitive artistic tasks easier.
For example, an environment artist may use texture brushes for grass, leaves, rocks, clouds, or distant foliage. A portrait artist might prefer brushes designed for hair, skin texture, soft blending, and fine details. A lettering artist may want pressure-sensitive calligraphy brushes that create smooth transitions between thick and thin strokes.
The important thing is to treat brushes as tools rather than shortcuts. A great brush won’t automatically create great artwork, but the right tool can make your workflow faster and more enjoyable.
Best Types of Free Procreate Brushes
There isn’t one brush that works perfectly for every artist. Building a small collection covering several categories is usually more useful than downloading hundreds of random brushes.
1. Free Procreate Pencil Brushes
Pencil brushes are among the most useful tools you can keep in your library.
They’re ideal for rough sketches, character concepts, anatomy studies, planning compositions, and finished pencil-style illustrations.
A good digital pencil should respond naturally to pressure and ideally create subtle variations in texture.
Some artists prefer a clean mechanical-pencil effect, while others want something closer to soft graphite on textured paper.
If you’re a beginner, start with only two or three pencil brushes. Having too many similar options can actually slow down your workflow.
2. Free Procreate Inking Brushes
Inking brushes are perfect when you need confident, defined lines.
They’re especially useful for comic art, cartoons, manga-inspired illustrations, tattoo concepts, stickers, coloring pages, and character designs.
Look for an inking brush that produces consistent lines while still responding naturally to pressure.
For expressive illustrations, a slightly textured ink brush can make your artwork feel less digitally perfect. For clean commercial illustration, a smoother brush may work better.
3. Free Watercolor Procreate Brushes
Watercolor is difficult to reproduce digitally because real watercolor depends on pigment, water, paper texture, and unpredictable blending.
Well-designed watercolor brushes attempt to recreate some of those characteristics.
They can be useful for botanical illustrations, landscapes, children’s artwork, greeting cards, printable designs, and soft portrait work.
For a more convincing result, don’t rely on one watercolor brush alone. Combine transparent washes with textured edges, subtle paper grain, and darker detail brushes.
4. Free Painting Brushes
Digital painting brushes are some of the most versatile options available.
They can imitate oils, acrylics, gouache, dry brushes, wet paint, or completely digital media.
These brushes work particularly well for portraits, concept art, fantasy scenes, landscapes, food illustrations, and environmental painting.
Experiment with opacity and pressure rather than painting everything at maximum strength. Building colors gradually can produce much richer results.
5. Free Texture Procreate Brushes
Texture brushes are extremely useful when artwork looks too smooth or artificial.
Instead of manually drawing hundreds of tiny details, a texture brush can quickly introduce controlled irregularity.
Artists commonly use them for paper grain, stone, fabric, dirt, walls, wood, clouds, foliage, and distressed surfaces.
Texture should normally support the artwork rather than overpower it. Applying too much texture can make an otherwise clean illustration feel cluttered.
6. Free Lettering and Calligraphy Brushes
Procreate has become a popular tool for digital hand lettering because the Apple Pencil allows pressure-sensitive strokes.
Lettering brushes can be used for quotes, logos, invitations, social media graphics, printable artwork, and decorative typography.
When choosing a lettering brush, test how it handles slow curves and pressure changes. Smoothness is important, but excessive stabilization can sometimes make lettering feel less natural.
How to Choose Good Free Procreate Brushes
Free doesn’t automatically mean useful.
Before filling your iPad with brush packs, consider what the brush actually adds to your workflow.
Start by checking the examples created with the brush. A useful preview should show actual strokes instead of relying entirely on a polished finished illustration.
Next, think about versatility. If one brush can handle sketching, shading, and smaller details, you may use it more frequently than a highly specialized effect brush.
Pressure sensitivity is also worth testing if you use an Apple Pencil. Try making thin strokes, thick strokes, light marks, and heavy marks. The transitions should feel predictable enough for the type of art you’re creating.
Finally, consider organization. Ten carefully selected brushes are often more valuable than 500 brushes you can’t remember downloading.
How to Install Free Procreate Brushes
Installing downloaded brushes is generally straightforward.
After downloading a compatible brush file to your iPad, locate it through the Files app. Depending on the file and your Procreate version, opening the brush or brush set can import it into Procreate.
Procreate supports individual brush files as well as brush sets and brush libraries.
Once imported, open your Brush Library and locate the newly added brush or set. Make a few test strokes on a blank canvas before using it in an important project.
If you’re unfamiliar with the Brush Library, the official Procreate documentation provides detailed instructions for importing, organizing, editing, and sharing brushes.
Organize Your Procreate Brush Library
Downloading brushes becomes addictive surprisingly quickly.
After a while, you may have dozens of sets containing hundreds of tools. Without organization, finding the brush you actually want becomes frustrating.
Create sets around the way you work.
For example, you could organize your favorite brushes into categories such as:
Sketching, Inking, Painting, Portraits, Textures, Lettering, Nature, and Favorites.
You don’t necessarily need to preserve every downloaded set exactly as it arrived. Creating a smaller collection containing your most frequently used tools can make everyday drawing much faster.
It’s also worth backing up important custom brushes and original brush creations.
Customize Brushes Instead of Constantly Downloading More
One of Procreate’s most powerful features is the ability to modify brushes.
If you find a brush that’s almost perfect, you don’t necessarily need to search for another one.
You can adjust its behavior through Brush Studio.
Depending on the brush, changing properties such as stabilization, taper, grain, spacing, opacity, or pressure response can dramatically change how it feels.
A useful habit is to duplicate a brush before making major changes. This lets you experiment while keeping the original version available.
Once you’re comfortable with these settings, you may eventually create brushes tailored specifically to your own drawing style.
Are Free Procreate Brushes Good for Beginners?
Absolutely.
Beginners don’t need an expensive collection of premium brushes to learn digital art.
In fact, constantly switching between brushes can become a distraction when you’re learning fundamentals such as shape, perspective, values, color, anatomy, and composition.
Start simple.
Choose one pencil for sketching, one reliable inking brush, one or two painting brushes, a soft blending option, and perhaps a texture brush.
Use those tools consistently for several projects.
Once you understand what they’re missing, you’ll have a much clearer idea of which additional brushes are worth downloading.
Free vs. Premium Procreate Brushes
Both free and premium brushes can be excellent.
Free brushes are particularly useful for beginners, experimentation, and discovering new techniques. Premium packs may provide larger coordinated collections, specialized effects, additional documentation, or tools created for a particular professional workflow.
Price alone doesn’t determine quality.
A free pencil brush that perfectly matches your drawing style can be more valuable to you than a large premium bundle containing brushes you’ll never use.
Before purchasing anything, spend time exploring Procreate’s existing brushes and quality free alternatives.
Frequently Asked Questions
Can I download Procreate brushes for free?
Yes. Many artists and designers distribute free brushes and sample brush packs. Always check the creator’s license or usage terms, especially if you plan to use the brushes in commercial projects.
Where do imported Procreate brushes appear?
Their location can depend on how the file was imported and the Procreate version you’re using. Imported sets are generally available through the Brush Library, where you can organize them alongside your other brushes.
Can I edit a downloaded Procreate brush?
Many imported brushes can be adjusted through Brush Studio. Duplicating the original before experimenting is a useful way to preserve the initial settings.
Can I use free brushes for commercial artwork?
That depends on the license provided by the brush creator. A brush being available for free does not automatically mean every commercial use is permitted. Review the creator’s terms before using third-party resources in work you plan to sell.
Do I need an Apple Pencil to use Procreate brushes?
You can interact with Procreate without an Apple Pencil, but a compatible stylus can provide pressure and other input behavior that is particularly useful for drawing and painting.
Final Thoughts on Free Procreate Brushes
The best free Procreate brushes aren’t necessarily the packs containing hundreds of tools. They’re the brushes that help you create naturally, solve a specific artistic problem, and spend less time fighting with your tools.
Start with a small collection covering sketching, inking, painting, watercolor, textures, and lettering. Test each brush properly, keep your favorites organized, and remove tools you never use.
As your skills develop, experiment with Brush Studio and customize brushes to fit your own workflow. Over time, your Procreate library can become a personal digital toolbox built around the way you actually create.
Most importantly, keep experimenting. Brushes can introduce new textures and techniques, but your artistic decisions are what turn those marks into finished artwork.