
If you’ve ever watched a short looping animation on Instagram and wondered whether you could make something like it on your iPad, the answer is yes — and you probably already own the app for it. Procreate animation has quietly become one of the most accessible ways for illustrators to bring their work to life, without touching a separate animation program or learning a new interface from scratch.
This guide walks through what Procreate animation actually is, how the built-in Animation Assist tool works, and how to go from a blank canvas to a finished animated loop you’d be proud to share.
What Is Procreate Animation?
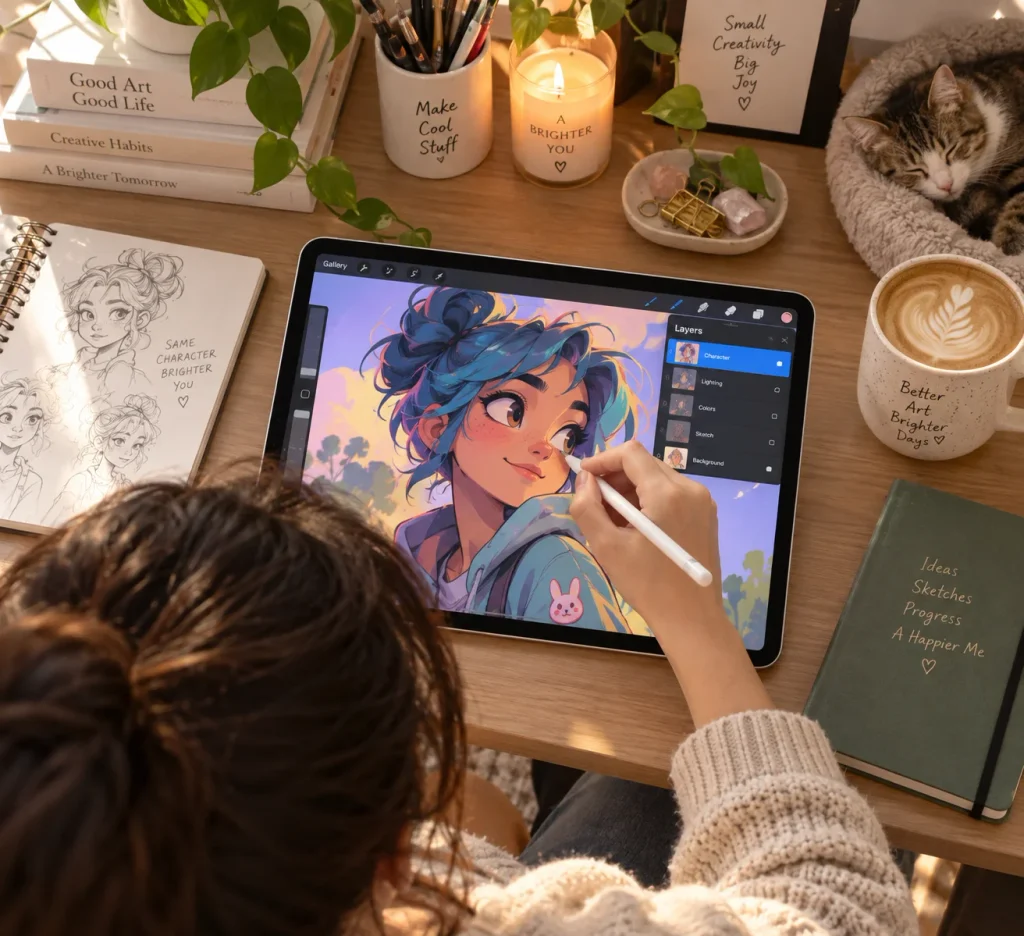
Procreate animation refers to the frame-by-frame animation features built directly into the Procreate app for iPad. Using a tool called Animation Assist, artists can stack multiple layers as individual frames, play them back in sequence, and export the result as a GIF, video, or animated PNG.
Unlike dedicated animation software such as Toon Boom or Adobe Animate, Procreate keeps things simple. There’s no timeline scrubber packed with menus, no separate rigging system, and no steep learning curve. If you already know how to draw in Procreate, you’re most of the way to animating in it too.
This makes it a natural fit for digital artists who want to experiment with motion — character walk cycles, animated portraits, looping backgrounds, or short story panels — without committing to an entirely new toolset.
Why Digital Artists Are Turning to Procreate for Animation
A few years ago, animating on an iPad felt like a compromise. Today, it’s a legitimate creative choice for a growing number of illustrators, and there are some clear reasons why.
- It lives inside a tool you already use. No exporting files back and forth between apps.
- The learning curve is gentle. Animation Assist reuses Procreate’s existing layer and brush system.
- It’s portable. You can animate on a plane, on a couch, or between client meetings.
- It’s affordable. One purchase, no subscription, and no need for a separate animation license.
- The output is social-media ready. GIFs and short MP4 loops export in formats built for Instagram, TikTok, and portfolio sites.
That said, Procreate animation does have limits. It’s built for short, frame-based loops rather than long-form animated films, and it doesn’t include audio, bone rigging, or advanced tweening. For personal projects, social content, stickers, and short story animation, though, it’s more than capable.
Getting Started: Setting Up Procreate for Animation
Before animating your first frame, it helps to set a few things up properly. A little planning here saves a lot of frustration later.
Turning On Animation Assist
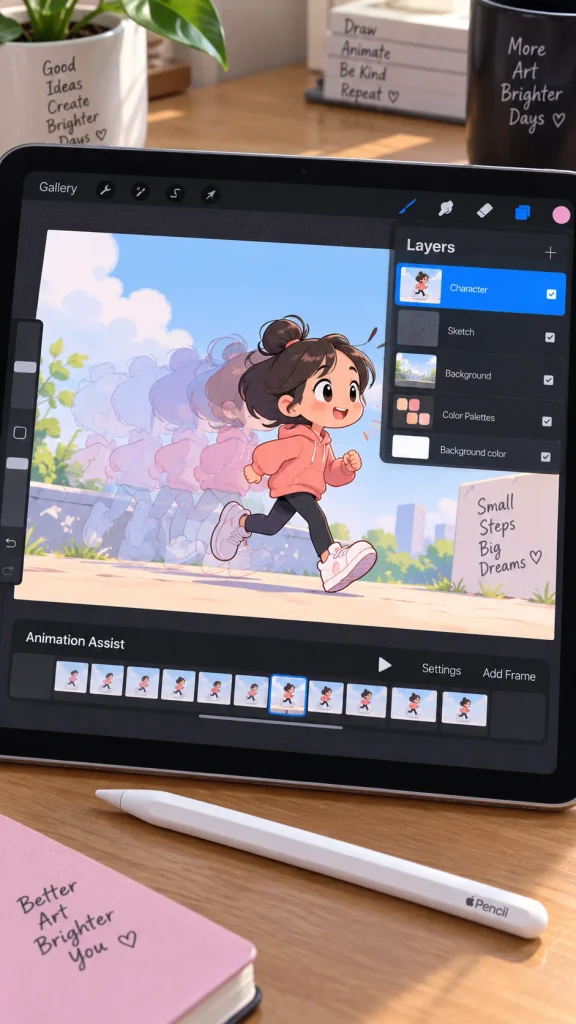
Animation Assist is Procreate’s dedicated animation mode. To activate it:
- Open a new or existing canvas.
- Tap the wrench icon to open the Actions menu.
- Go to Canvas.
- Toggle Animation Assist on.
Once enabled, a filmstrip-style timeline appears at the bottom of your screen. Each layer in your layers panel now corresponds to one frame in that timeline.
Choosing the Right Canvas Size and Frame Rate
Your canvas size and frame rate decide how your final animation looks and how smoothly it plays.
- For social media loops, a square or 9:16 canvas usually works best.
- For portfolio pieces meant to sit on a wide screen, 16:9 gives more room to work with.
- A frame rate between 12 and 24 frames per second is typical for hand-drawn animation. Lower frame rates (8–12 fps) give a stylized, slightly choppy look that many illustrators actually prefer for character animation, while higher frame rates smooth things out but require more drawn frames.
There’s no universally “correct” setting — it depends on the style you’re going for and how much time you want to spend drawing individual frames.
Step-by-Step: Creating Your First Animation in Procreate
Here’s a simple workflow to get you from idea to finished loop.
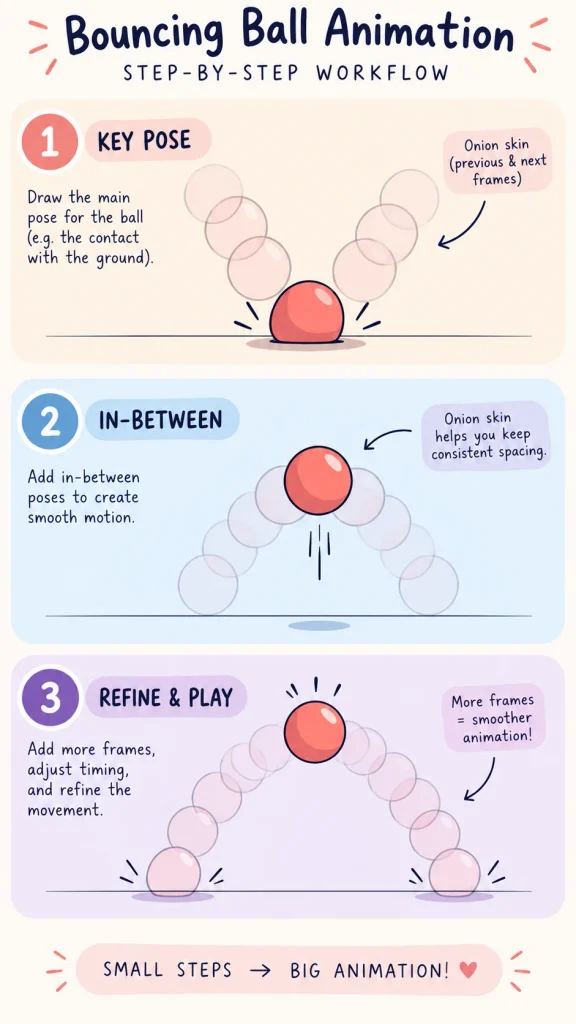
- Sketch your key poses first. Draw the two or three most important positions in your motion before filling in the frames between them. This is the traditional “keyframe” approach and it keeps your animation from drifting off-model.
- Add layers as new frames. Each new layer you add appears automatically in the Animation Assist timeline.
- Use onion skinning. Tap the Settings icon in the timeline and turn on onion skin so you can see faint outlines of the previous and next frames while you draw. This makes it much easier to keep movement consistent.
- Fill in the in-between frames. Once your key poses are set, add the transitional frames that connect them.
- Preview constantly. Tap play in the timeline to check your timing as you go, rather than waiting until the end.
- Adjust frame duration. Tap any frame thumbnail to hold it for longer or shorter than the default, which is useful for pauses or emphasis.
- Export your animation. Go to the Share menu and choose GIF, animated PNG, or a video format depending on where you plan to post it.
Tips for Smoother, More Professional Animations
A few small habits make a noticeable difference in how polished your final animation feels.
- Keep early loops short. A 1–2 second loop is far more achievable than a 10-second sequence, and it’s a better way to learn the tool.
- Group related layers. If a character has separate frames for the body, face, and background, group them so the timeline stays readable.
- Use reference footage. Even a quick phone video of yourself acting out the motion can clarify timing before you draw a single frame.
- Don’t over-animate. Subtle movement — a blinking eye, swaying hair, a gentle bounce — often reads better than constant, busy motion.
- Save often. Animated files with many layers get heavy quickly, and Procreate can occasionally slow down on longer projects.
If you’re animating frequently, having enough processing power and screen real estate genuinely changes the experience. Choosing the right iPad for Procreate matters more for animation than for static illustration, since you’re working with dozens of layers instead of one.
Common Mistakes to Avoid
Most beginners run into the same handful of issues when they start animating in Procreate:
- Skipping the keyframe stage. Drawing frame by frame in order, without planning key poses first, usually leads to inconsistent proportions and awkward timing.
- Ignoring onion skinning. It’s easy to forget this feature exists, but animating without it makes it much harder to judge motion.
- Overcomplicating the first project. A detailed character with a full background is a lot to animate at once. Start with something simple, like a bouncing object or a looping icon.
- Not testing the export early. GIFs can look different from what you see on canvas, especially with color and frame rate. Export a rough test early so there are no surprises at the end.
Enhancing Your Animation With the Right Brushes
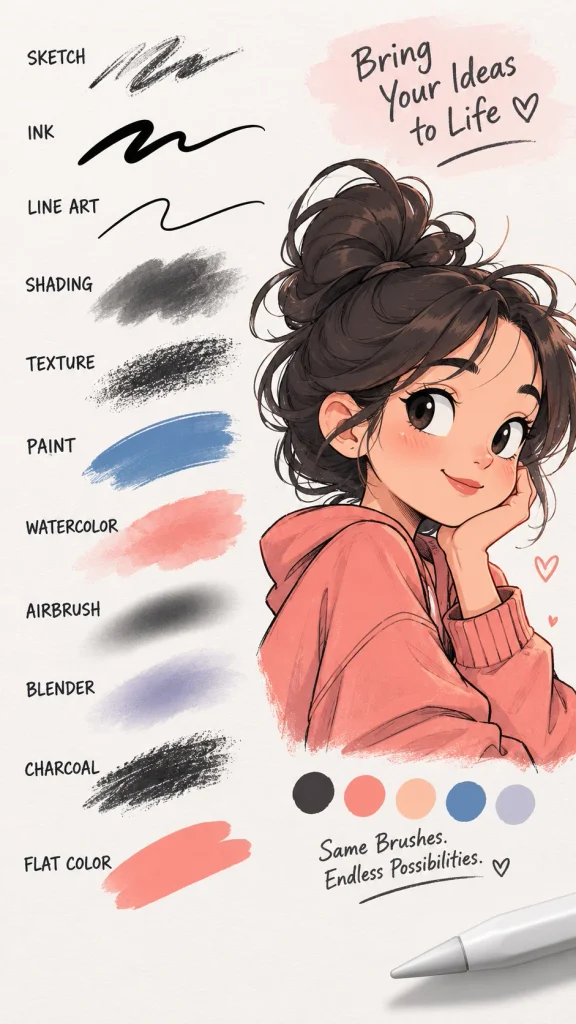
Brush choice matters just as much in animation as it does in still illustration — arguably more, since a busy or heavily textured brush can make individual frames flicker distractingly when played back. Cleaner, more consistent brushes tend to hold up better across a moving sequence.
If you’re not sure where to start, it’s worth browsing a curated set of free Procreate brushes built with clean edges and consistent texture, since these tend to animate more predictably than heavily textured painterly brushes.
Frequently Asked Questions
Can you animate in Procreate for free? Procreate itself is a one-time paid app, but animation is included in that purchase — there’s no extra fee or subscription for using Animation Assist.
How long can a Procreate animation be? There’s no strict frame limit, but performance depends on your iPad’s processing power and canvas size. Most artists keep loops short, generally a few seconds, both for performance reasons and because short loops are simply easier to plan and finish.
Do I need a specific iPad model to animate in Procreate? Animation Assist works on any iPad that supports Procreate, but more demanding projects with many layers and frames run more smoothly on newer, higher-performance models.
Can I add sound to a Procreate animation? No. Procreate exports silent GIFs, animated PNGs, or video files without audio. If you want sound, you’d need to add it afterward in a separate video editor.
Final Thoughts
Procreate animation won’t replace a full animation studio pipeline, and it isn’t trying to. What it offers instead is a genuinely approachable way for illustrators to add movement to their work using tools they already understand. Start with a short, simple loop, lean on onion skinning and keyframes to keep your motion consistent, and build up from there.
Once you’ve got the basics down, the biggest gains usually come from refining your workflow — better hardware, cleaner brushes, and a bit more planning before you draw your first frame.