
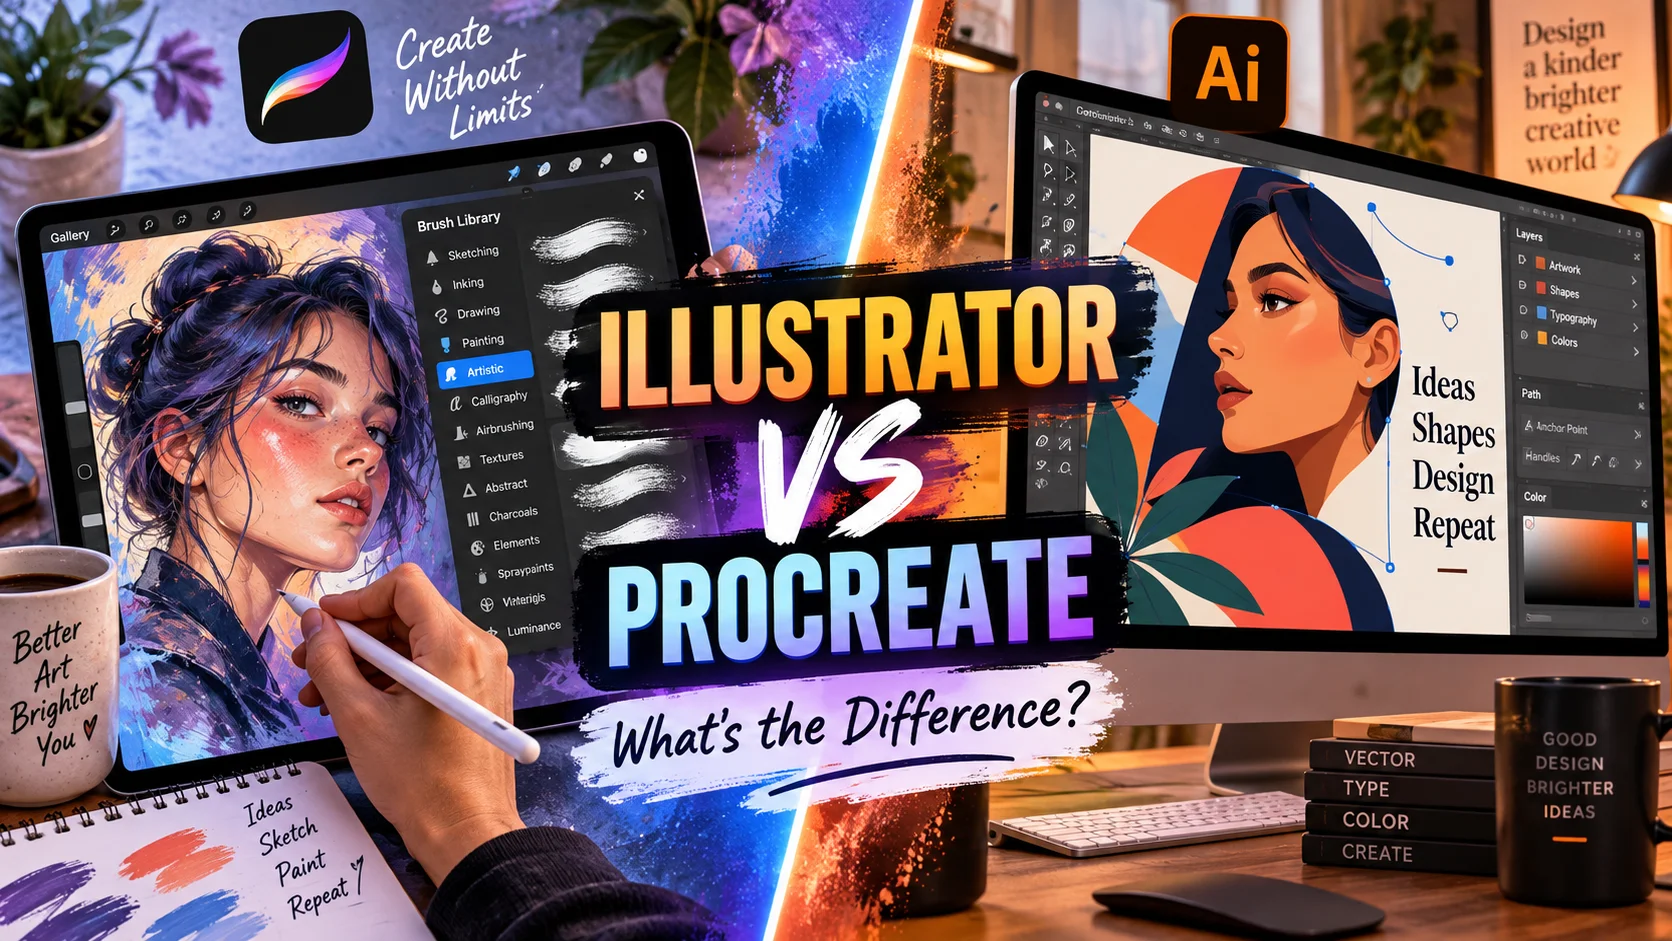
If you’re exploring digital art apps, you may be wondering: is Illustrator similar to Procreate?
At first glance, yes. Both let you draw, create illustrations, work with brushes, build professional artwork, and use a stylus. But once you actually start creating, the experience is quite different.
Procreate is designed primarily for raster-based digital drawing and painting, while Adobe Illustrator is built around scalable vector graphics. Illustrator is especially suited to logos, icons, typography, patterns, and artwork that needs to be resized without losing sharpness.
If you love experimenting with Procreate brushes, textured illustration, digital watercolor, lettering, or sketching with your Apple Pencil, Procreate will usually feel more natural. If precision and infinitely scalable artwork matter more, Illustrator may be the better tool.
Is Illustrator Similar to Procreate?
Illustrator and Procreate overlap in several areas, but they solve different creative problems.
| Feature | Procreate | Adobe Illustrator |
|---|---|---|
| Main artwork type | Raster/pixel-based | Vector-based |
| Best for | Drawing, painting, lettering | Logos, vectors, typography, graphics |
| Brush experience | Extensive painterly brush engine | Vector path-based brush system |
| Custom brushes | Excellent | Yes |
| Natural drawing feel | Excellent | Good, but more technical |
| Scalable artwork | Limited by canvas resolution | Excellent |
| Learning curve | Beginner-friendly | More advanced |
| Ideal workflow | Sketching and illustration | Design and production |
So, is Illustrator similar to Procreate? In the broad sense, yes—you can draw and illustrate in both. But Procreate feels closer to having a digital sketchbook, while Illustrator feels more like a precision design studio.
For more information about Illustrator’s capabilities, Adobe provides a useful official introduction here: Adobe Illustrator official overview
Procreate Brushes vs Illustrator Brushes
This is where the difference becomes especially noticeable.
Procreate revolves heavily around brushes. You can sketch with pencils, paint with gouache, create grainy ink illustrations, add stippling, mimic watercolor, build lettering brushes, or download specialized free brush sets and premium collections.
Procreate’s Brush Studio lets you modify characteristics such as brush shape, grain, rendering, dynamics, pressure response, tilt, color behavior, and wet-media effects.
Illustrator also has brushes, but they behave differently because they’re generally styling vector paths. Adobe currently includes brush categories such as Calligraphic, Scatter, Art, Bristle, and Pattern brushes.
That makes Illustrator fantastic for things like decorative borders, repeating patterns, vector ink strokes, botanical elements, or scalable lettering.
But if your priority is the feeling of putting pencil, charcoal, ink, or paint directly onto a canvas, Procreate usually offers the more organic experience.
You can explore how Procreate’s brush engine works in the official documentation: Procreate Brush Studio Handbook
Which Is Better for Digital Drawing?
For pure digital drawing, Procreate is often the easier choice.
You can open a canvas, choose a brush, and start drawing almost immediately. That simplicity makes it especially appealing for illustrators, tattoo artists, lettering artists, surface designers, and hobbyists.
Illustrator becomes more powerful when your artwork needs precise editable shapes.
Imagine you’re creating a hand-drawn floral design.
In Procreate, you might use a textured ink brush to sketch leaves and flowers naturally. You can vary your pressure and create imperfect handmade lines.
In Illustrator, you could turn that concept into clean vector artwork, adjust individual curves, recolor objects quickly, and scale the final design from a small sticker to a large poster.
Neither workflow is automatically better. They simply serve different goals.
Should You Use Procreate and Illustrator Together?
You don’t necessarily have to choose one.
Many artists use both.
A practical workflow could look like this:
- Sketch your concept in Procreate.
- Refine the illustration using your favorite Procreate brushes.
- Export the artwork with a transparent background.
- Bring the artwork into Illustrator.
- Vectorize or redraw important elements.
- Add precise typography, shapes, patterns, or production-ready details.
For example, if you’re designing artwork for stickers or print-on-demand products, you could create expressive hand lettering in Procreate and then use Illustrator when you need clean vector shapes or highly controlled layouts.
This gives you Procreate’s natural drawing experience plus Illustrator’s precision.
Free vs Premium Procreate Brushes
Your brushes can have a surprisingly large impact on your finished artwork.
Free Procreate brushes are excellent when you’re learning a new technique or trying to discover your preferred style. You might download a few free pencil, watercolor, ink, or texture brushes before investing in a larger collection.
Premium brush sets become useful when you want a more complete toolkit built around a specific style.
You might look for:
- Watercolor and gouache brushes
- Vintage engraving brushes
- Smooth lettering brushes
- Grain and texture brushes
- Tattoo and stippling brushes
- Comic and manga brushes
- Pencil and charcoal brushes
- Stamp brushes for florals, stars, foliage, or decorative elements
Before buying a premium set, look carefully at the sample strokes. A beautiful product cover doesn’t automatically mean the brush will suit your drawing style.
One of the best Procreate tips is to test different brushes on the same small illustration. You’ll quickly discover whether you prefer smooth lines, rough texture, heavy pressure sensitivity, or painterly edges.
How to Install Procreate Brushes
Installing brushes is straightforward.
Procreate currently supports its own .brush, .brushset, and .brushlibrary files, as well as compatible Adobe Photoshop .abr brushes.
After downloading your brush file, you can open your Brush Library and use Import from Files, then select the downloaded file. A complete brush set will appear in your Brush Library after importing. You can also open compatible brush files from the Files app and send them to Procreate.
Procreate Tip: Organize Brushes by Purpose
Don’t let your Brush Library turn into a collection of hundreds of brushes you never use.
Create simple categories such as:
Sketch → Ink → Color → Texture → Details
That gives you a repeatable digital drawing workflow instead of constantly searching for the perfect brush.
Illustrator or Procreate: Which Should You Choose?
Choose Procreate if you mainly want to sketch, paint, create hand lettering, make textured illustrations, or experiment with custom brushes.
Choose Illustrator if your work depends heavily on vectors, logos, scalable graphics, precise typography, repeat patterns, or highly editable shapes.
And if your artwork combines expressive drawing with professional graphic design, learning both can be extremely valuable.
The simplest answer to “is Illustrator similar to Procreate?” is therefore:
They can create similar-looking artwork, but they get you there in very different ways.
Procreate feels like drawing.
Illustrator feels like constructing.
FAQ About Illustrator and Procreate
Can Illustrator use Procreate brushes?
Not directly. Procreate’s native brush formats are designed for Procreate’s brush engine, while Illustrator uses its own vector brush system.
Can Procreate import Photoshop brushes?
Yes. Procreate’s current documentation states that you can import compatible Adobe Photoshop .abr brushes alongside Procreate brush formats.
Is Procreate a vector program like Illustrator?
No. Procreate is primarily raster-based, meaning your artwork is made from pixels. Illustrator specializes in vector graphics made from mathematically defined paths.
Is Illustrator better than Procreate?
It depends on what you’re creating. For natural sketching and painting, you may prefer Procreate. For logos, typography, scalable graphics, and precision design, Illustrator has major advantages.
Are free Procreate brushes worth downloading?
Absolutely. Good free brush sets can help you test new styles before purchasing premium brushes. Just choose brushes from reputable creators and check that they’re compatible with your version of Procreate.
Why do my Procreate brushes look different from the preview?
Brush results can change depending on Apple Pencil pressure, canvas size, brush size, opacity, texture scale, and the way the artist made their strokes. Try experimenting with pressure and brush size before deciding a brush isn’t right for you.
Build Your Procreate Brush Library
The right brushes can turn a simple Procreate setup into a creative toolkit that feels completely your own.
If you want to explore new textures, lettering styles, ink effects, and illustration tools, download my Procreate brushes, browse my Etsy brush collections, or join my email list to receive new brush releases, free brush sets, Procreate tips, and digital-art resources.
Your next favorite brush might completely change the way you draw.