
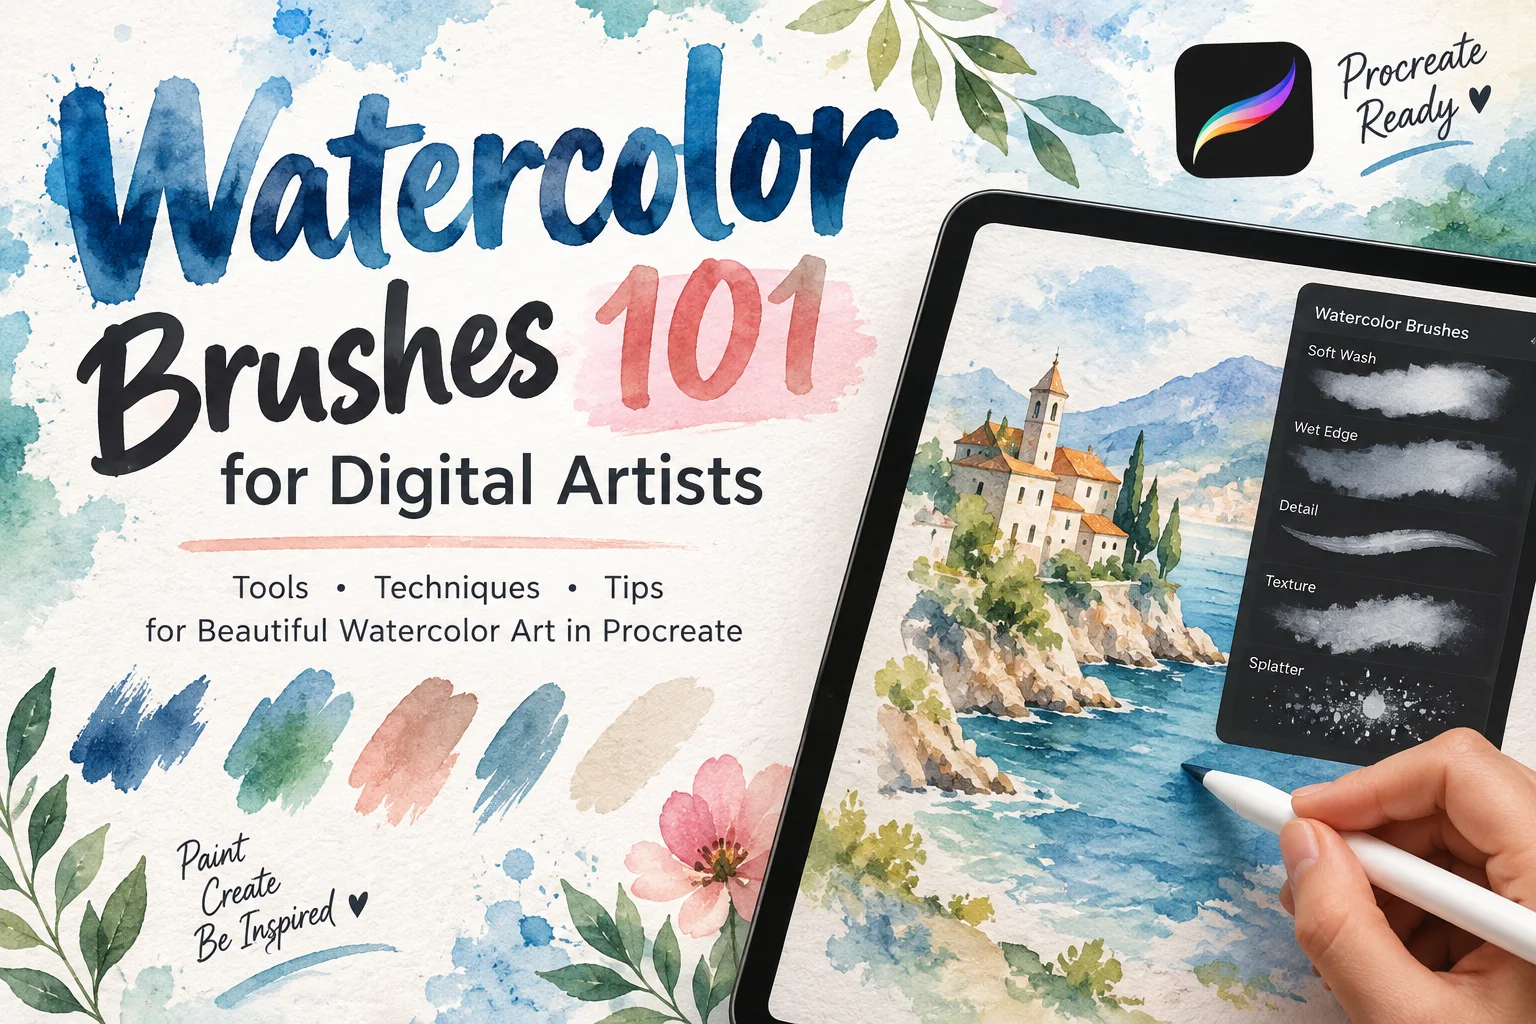
Watercolor has a character that is difficult to imitate. Transparent washes, darker edges, uneven pigment, paper texture, and colors softly flowing into one another are all part of what makes traditional watercolor painting so beautiful.
Fortunately, you don’t need a cup of water and a stack of expensive watercolor paper every time you want to experiment with the medium. The right Watercolor Brushes can bring many of these characteristics into your digital workflow, especially when you’re painting in Procreate.
If you’re new to digital watercolor, however, downloading a brush pack is only the beginning. Understanding what different brushes do—and how to layer, blend, and control them—is what really improves your results.
This beginner-friendly guide walks you through the essentials.
What Are Watercolor Brushes?
Digital Watercolor Brushes are brushes designed to imitate some of the visual qualities of real watercolor paint. Instead of producing a perfectly solid digital line, they may create transparent pigment, textured edges, irregular washes, grain, blooms, splashes, or other natural-looking variations.
In Procreate, a brush is built from a shape and grain, with additional settings controlling how that brush behaves. Procreate’s Brush Studio also includes Wet Mix controls designed to simulate wet-media behavior, including how pigment is diluted and moved around the canvas.
This flexibility means two watercolor brushes can behave completely differently even when they’re used with the same color.
Why Use Watercolor Brushes in Procreate?
Traditional watercolor is wonderful, but digital watercolor gives you a different kind of freedom. You can experiment with color combinations, undo mistakes, work with layers, resize elements, and test compositions without wasting paper or paint.
Procreate also includes dedicated watercolor-style brushes. Its current Brush Library describes watercolor brushes as wet brushes intended for transparent washes, paint layering, and varied edges.
That makes Procreate useful for everything from loose botanical studies and landscapes to children’s illustrations, portraits, lettering, greeting cards, and printable artwork.
5 Types of Watercolor Brushes You Should Know
A convincing watercolor illustration rarely comes from one brush. Different tools are better suited to different stages of a painting.
1. Watercolor Wash Brushes
A wash brush is usually the first brush you’ll reach for when painting larger areas. It lays down transparent color rather than an opaque block.
Try it for skies, backgrounds, large leaves, clothing, soft shadows, and the first color layer of an illustration.
Artist tip: Start lighter than you think you need. Building several transparent layers usually feels more watercolor-like than applying one extremely dark stroke.
2. Wet Edge Brushes
One recognizable feature of watercolor is the accumulation of pigment around an irregular edge. A good wet-edge brush can help reproduce this without making every boundary look perfectly digital.
These brushes are particularly useful for flowers, clouds, foliage, abstract shapes, and loose landscape painting.
3. Detail Watercolor Brushes
Once your major washes are established, you’ll need more control. Detail brushes have a smaller, more predictable stroke while maintaining enough texture to match the rest of your painting.
Use them for facial features, flower stems, branches, small shadows, decorative marks, and final accents.
4. Texture Brushes
Watercolor isn’t only about pigment. Paper plays an enormous role in traditional artwork.
Texture brushes can introduce subtle grain and irregularity so your painting doesn’t look like smooth color floating on a perfectly clean digital canvas.
Use texture carefully. It should support your illustration rather than become the first thing viewers notice.
5. Splatter and Stamp Brushes
Splashes, droplets, blooms, and irregular marks are useful finishing tools. Procreate has included watercolor-oriented stamp brushes for effects such as splashes, flicks, blotches, and drips.
A few scattered marks can make a loose illustration feel more organic, but too many can quickly make it messy.
How to Use Watercolor Brushes in Procreate
You don’t need an advanced painting workflow to get started. Try this simple process.
Step 1: Choose a Textured Canvas
Start with a canvas large enough for your intended use. If you want a traditional appearance, add a subtle watercolor-paper texture. Avoid making the texture excessively dark or contrasty.
Step 2: Build a Small Color Palette
Choose a limited palette before painting. Four or five compatible colors are often easier to control than constantly selecting new colors.
Limiting your palette also helps the finished artwork feel more cohesive.
Step 3: Paint Your Lightest Washes First
Use a large watercolor wash brush and establish the major shapes. Keep your first pass light.
Don’t worry about filling every tiny gap. Slight irregularities can actually contribute to the handmade appearance you’re trying to create.
Step 4: Build Color Gradually
Add deeper pigment where you need more form or contrast. Try layering rather than immediately increasing everything to full opacity.
This is one of the simplest ways to avoid the flat, opaque appearance that can make digital watercolor look more like ordinary digital painting.
Step 5: Add Details and Texture
Switch to a smaller brush for controlled details. Then introduce paper grain, dry texture, splatters, or other accents where appropriate.
Keep checking the entire image as you work. A texture that looks subtle while zoomed in may appear overwhelming at normal viewing size.
Watercolor Brushes and Procreate Wet Mix
If you want to understand why some brushes feel more convincingly “wet,” explore Brush Studio.
Procreate’s Wet Mix settings control several important aspects of paint behavior. For example, Dilution affects the amount of water mixed with pigment, Charge influences how much paint begins on the brush, and Pull controls how strongly the brush moves existing paint around the canvas.
You don’t need to memorize every setting as a beginner. Instead, duplicate a brush you like before editing it and experiment with one control at a time. This lets you see what actually changes without losing the original brush.
Common Watercolor Brush Mistakes
Using maximum opacity everywhere. Watercolor gets much of its beauty from transparency. Give lighter layers room to show through.
Over-blending colors. Perfectly smooth gradients can remove the irregular character you’re trying to create. Allow some transitions and edges to remain visible.
Using every texture brush you own. More texture doesn’t automatically mean more realism. Choose effects intentionally.
Painting everything with one brush. A wash brush, detail brush, texture brush, and a few effect brushes give you much more control.
Ignoring pressure. If you’re using an Apple Pencil, test how your chosen brush responds to different pressure and tilt. Procreate allows brush behavior to be influenced by these inputs, so learning your brush is often more valuable than constantly downloading new ones.
How to Choose Good Watercolor Brushes
Don’t judge a brush pack only by how many brushes it contains. A smaller collection of genuinely different tools may be much more useful.
Look for a balanced set containing a large wash, controlled painting brush, detail brush, dry or grainy texture, and a few optional splatter or stamp effects.
Most importantly, test each brush yourself. Make long strokes, short strokes, dots, overlapping washes, light-pressure marks, and heavy-pressure marks. You’ll quickly discover which brushes fit your painting style.
If you’re building your Procreate library without spending heavily on brush packs, explore the free Procreate brushes available on freeprocreatebrushes.org and experiment with different painting and texture tools.
FAQ About Watercolor Brushes
Can you create realistic watercolor in Procreate?
Yes. Procreate provides brush texture, rendering, pressure controls, Wet Mix settings, and watercolor-style brushes that can be combined to produce convincing watercolor-inspired artwork. Your layering and painting technique are just as important as the brush itself.
Are watercolor brushes good for beginners?
Yes. Beginners can start with a simple wash brush, detail brush, and texture brush. Learning a few versatile tools is usually easier than trying to master a huge brush library immediately.
Do I need an Apple Pencil for Procreate watercolor?
You can paint in Procreate using touch input, but an Apple Pencil provides additional control with brushes configured to respond to pressure and tilt.
Why does my digital watercolor look flat?
Heavy opacity, excessive blending, missing paper texture, and uniform edges are common causes. Try lighter washes, visible layering, varied edges, and subtle texture.
Where can I find free watercolor brushes for Procreate?
Free brush packs are available from many digital artists and brush creators. You can also browse freeprocreatebrushes.org for free Procreate brush resources and discover new tools to add to your workflow.
Final Thoughts on Watercolor Brushes
Watercolor Brushes can give digital artwork a softer, more organic personality, but the brush file isn’t a magic shortcut. The most convincing results come from understanding transparency, layering, edges, texture, and color.
Begin with a few brushes rather than dozens. Learn how they react to pressure, overlap your colors gradually, leave some imperfections untouched, and experiment with Procreate’s brush settings as your confidence grows.
Ready to expand your digital art toolkit? Browse freeprocreatebrushes.org to discover more free Procreate brushes and find new brushes for painting, sketching, lettering, texturing, and illustration.